| section: < previous | next > | | | |
chapter: << previous | next >> |
2.1 Creating a Constraint
A VOCL-Constraint consists of a header and a body which contains the actual VOCL expression. The header contains information about the context, the Constraint's kind, the Constraint's name and an optional variable declaration. The context itself can be a classifier (for invariant or a definition) or a method (for pre -and post conditions).
The Constraint is the top-level element of a VOCL-Expression, that means that it includes all other elements such as navigation, bool, let-in and it-then-else expressions. For creating such a figure you have to execute the following steps:
- Click on the entry Constraint in the palette.
- Move the mouse cursor on the drawing area at this position the figure should appear.
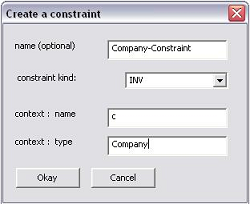
- Click on the left button (the mouse position is left corner of the figure) and a dialog is opened (see Fig 2.1.1).
In the next two subsections the creation of a Constraint with a Classifier as the context on the one hand and with a method declaration on the other hand.
2.1.1 Creating an invariant
After you have followed the steps from above you see the dialog in Fig 2.1.1. In this dialog you enter the values below:
- in the name textfield you can enter a optional name for the
constraint (here: Company-Constraint)
- in the combobox you can choose between three different kinds for
the Constraint (here: inv)
- then you have to specify the context of the Constraint, i.e. the class which the Constraint is associated with
- you have to specify at least the type of the context (here: Company)
- after that you can add a name for the context (here: c)
 |
Then you can click on Okay and the figure will be drawn. Moreover the inputs are checked and if some inputs are not there an inforamtion dialog is opened and you must fill the missing entries.
In Fig. 2.1.2 you can see the Constraint of the settings from above. The Constraint is a rounded rectangle with a header, in which the settings of the dialog appear, and the body which contains the VOCL expression.
Fig. 2.1.2 - resulting Constraint with a Classifiier as the context
2.1.2 Creating a Constraint with a method as the context
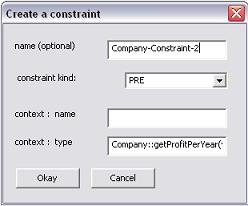
In the previous subsection you have learnt how to create a Constraint with a Classifier as the context. Now we present the other case, namely a Constraint with a method as the context. To do this follow the next steps (see Fig. 2.1.3):
- Follow the steps from the introduction of this section.
- Enter a name for the Constraint (here: Company-Constraint-2)
- Select a kind for the Constraint (here: pre)
- Enter the method name, parameters and return type in the
textfield context:type such as follow:
- Enter the name of the Classifier the Constraint is associated with (here: Company) followed by "::"
- Enter the name of the method (here: getProfitPerYear)
- Enter the parameters (name and type divided by a ":") of the method in brackets (here: (year:Integer))
- At last enter the return type of the method
 |
Fig. 2.1.3 - constraint dialog with method
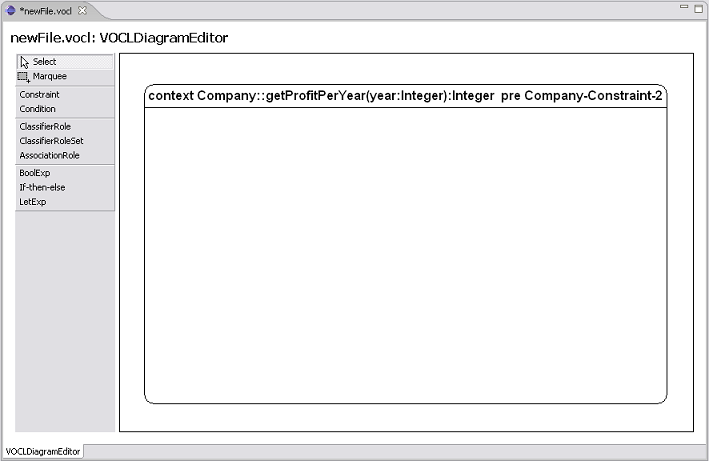
In Fig 2.1.4 the resulting Constraint can be seen. The method string of the dialog is not be checked yet. This will follow in a next version of the editor.
 |
Fig. 2.1.4 - resulting Constraint
